One of the challenges every development team faces is managing a consistent local environment to work in. Tools like Vagrant have made this easier in the past but working with heavy VM’s can be time consuming and quite taxing on your computer’s resources. Laravel is a great PHP framework for building web applications and provides some officially supported solutions for this as well with Homestead and Valet. But what if you want tighter control over your local environment without the burden of managing VMs?
That’s where Docker comes in! Docker provides a way to build and run lightweight containers for any service you would need. Need to make a change to PHP-FPM configuration? Want to change which version of PHP you’re using?
With Docker you can destroy your entire environment, reconfigure, and spin it back up in a matter of seconds.
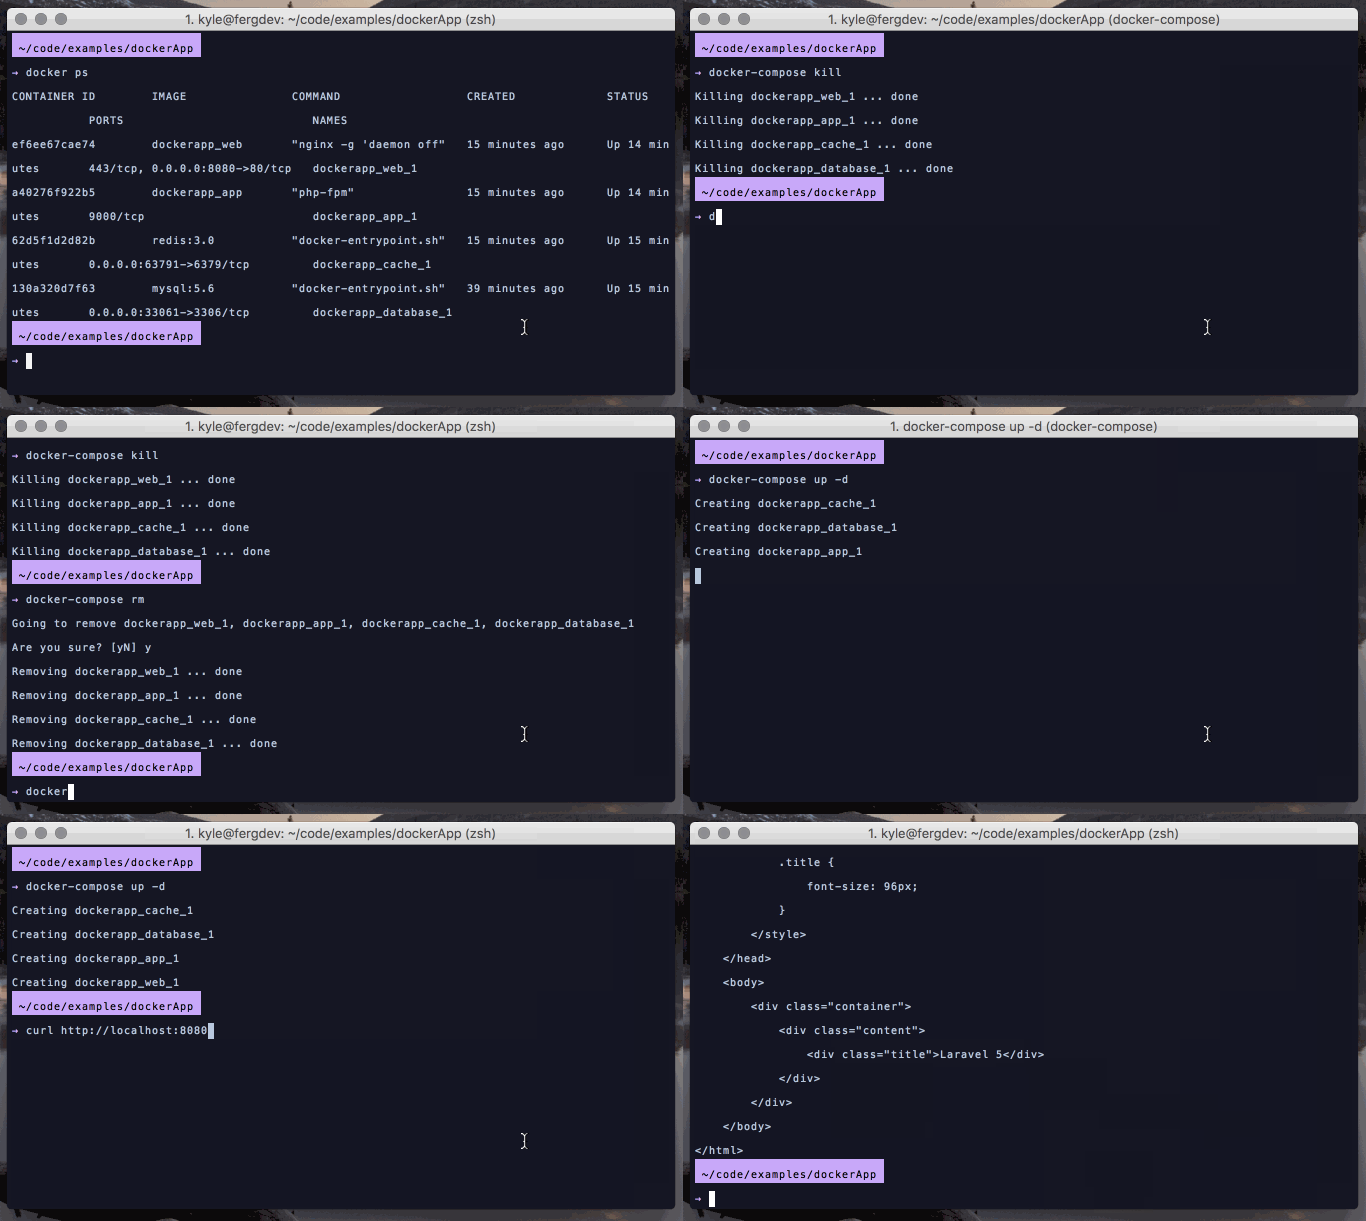
tldr; If you just want to see the code check out github.com/kyleferguson/laravel-with-docker-example for a base Laravel install setup with Docker. See the gif at the end for an example of how quickly you can destroy and rebuild the entire environment :)
Because Laravel integrates with many other technologies (MySQL, Redis, Memcached, etc.) it can be a little tricky to get configured just right when you start out. My goal with this post is to provide a high level (but usable) understanding of running apps with Docker.
Laravel setup
For the purposes of this post any Laravel or Lumen installation will work. If you already have an app, you can follow along using that. Here we’ll use the Laravel Installer to setup a quick new app.
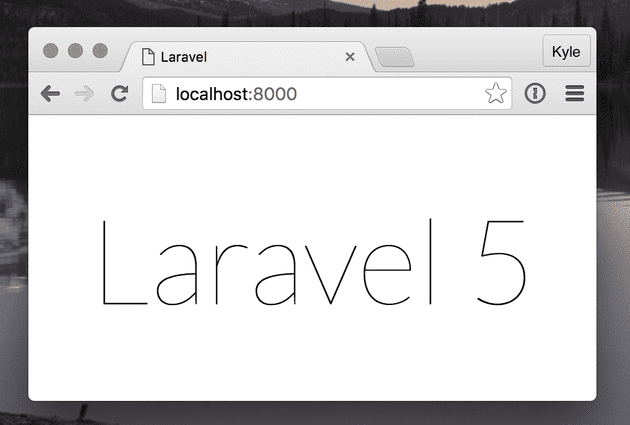
laravel new dockerAppWe can verify its setup correctly by using the quick built-in server
cd dockerApp
php artisan serve
Docker setup
Docker now runs natively for Mac, Windows, and Linux. Click on the platform of your choice to install Docker on your machine. This should install Docker, as well as Docker Compose which we will use.
After installing you should be able run commands with docker
docker --version
    Docker version 1.12.0, build 8eab29e

docker-compose --version
    docker-compose version 1.8.0, build f3628c7

docker ps
    CONTAINER ID        IMAGE               COMMAND ...
If docker ps returns an error, make sure that the Docker daemon is running. You may need to open Docker and start it manually.
Local environment with Docker
Now the fun part :) If you’ve setup a PHP environment before you’re probably familiar with running a web server (such as Nginx or Apache) next to PHP. With Docker, we create containers that ideally are dedicated to just one thing. So for our setup, we will have one container that runs Nginx to handle web requests, and another container that runs PHP-FPM to handle application requests. The concept of splitting these apart might seem foreign, but it allows for some of the flexibility that Docker is known for.
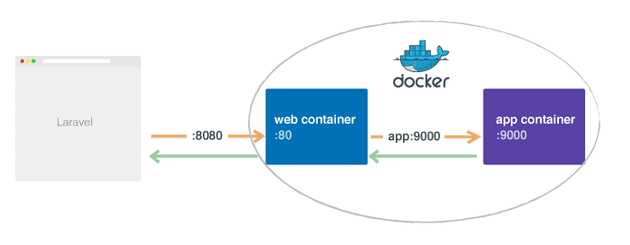
Here’s a high level overview of what we’ll be creating.
Our two containers will be linked together so they can communicate with one another. We will point traffic to the Nginx container which will handle the HTTP request, communicate with our PHP container if necessary, and return the response.
We’ll use Docker Compose to make creating the environment consistent and easy so we don’t have to manually create the containers each time. In the root of the project, add a file named docker-compose.yml
version: '2'
services:
    web:
        build:
            context: ./
            dockerfile: web.docker
        volumes:
            - ./:/var/www
        ports:
            - "8080:80"
        links:
            - app
    app:
        build:
            context: ./
            dockerfile: app.docker
        volumes:
            - ./:/var/www
Quick summary of whats going on here:
- 2 services have been defined, named
webandapp - these services are set to build with our project root as the context, and specify the names of Dockerfiles that will tell Docker how to build the containers (we’ll create those files next)
- both services mount our project directory as a volume on the container at
/var/www - the
webcontainer exposes port8080on our machine and points to port80on the container. This is how we’ll connect to our app. You can change8080to any port you’d prefer - the
webcontainer “links” the app container. This allows us to referenceappas a host from the web container, and Docker will automagically handle routing traffic to that container
You can find information about all of the options for Docker Compose here if you’d like to dig in more.
Now we need to create those Dockerfiles mentioned above. A Dockerfile is just a set of instructions on how to build an image. It’s sort of like provisioning if you’ve ever setup a server before, except we can leverage base images that make configuration/provisioning very minimal. The standard convention is to name the file Dockerfile, but because we have multiple containers I like to follow the convention of [service].docker. Create two files in the root of the project
app.docker
FROM php:7-fpm

RUN apt-get update && apt-get install -y libmcrypt-dev mysql-client \
    && docker-php-ext-install mcrypt pdo_mysql

WORKDIR /var/www
web.docker
FROM nginx:1.10

ADD ./vhost.conf /etc/nginx/conf.d/default.conf
WORKDIR /var/www
In the app dockerfile we set the base image to be the official php image on Docker Hub. We can already see one of the amazing things about Docker here. If you want to use another version of PHP, you can just change which base image we use: FROM php:5.6-fpm for example. We then run a couple shell commands to install mcrypt extension (which Laravel depends on currently) and MySQL client which we will use for our database later.
The web container just extends the official nginx image and adds an Nginx configuration file vhost.conf to /etc/nginx/conf.d on the container . We need to create that file now.
vhost.conf
server {
    listen 80;
    index index.php index.html;
    root /var/www/public;

    location / {
        try_files $uri /index.php?$args;
    }

    location ~ \.php$ {
        fastcgi_split_path_info ^(.+\.php)(/.+)$;
        fastcgi_pass app:9000;
        fastcgi_index index.php;
        include fastcgi_params;
        fastcgi_param SCRIPT_FILENAME $document_root$fastcgi_script_name;
        fastcgi_param PATH_INFO $fastcgi_path_info;
    }
}
This is a pretty standard Nginx configuration that will handle requests and proxy traffic to our PHP container (through the name app on port 9000). Remember from earlier, we named our service app in the Docker Compose file and linked it on the web container, so here we can just reference that name and Docker will know to route traffic to that app container. Neat!
We should be all good to go now. From the root of the project run
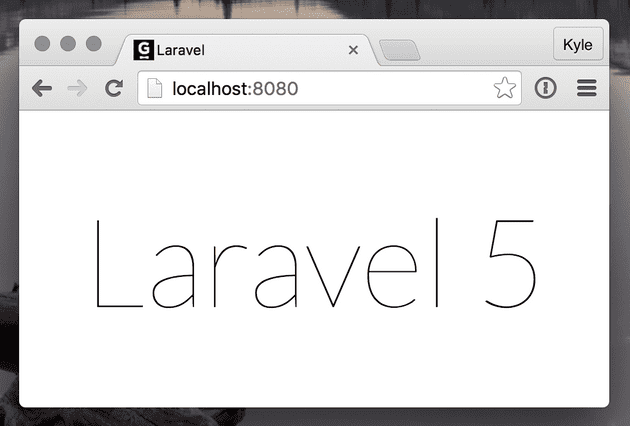
docker-compose up -dThis tells Docker to start the containers in the background. The first time you run it might take a few minutes to download the two base images, after that it will be much faster. We should now be able to visit our app at http://localhost:8080
Note: it’s possible that Docker isn’t using localhost (like on Windows sometimes). In that case, you can run docker-machine ip default to get the IP address to use instead
Hooray! Heres some common commands you might run to interact with the containers:
$ docker-compose up -d         # start containers in background
$ docker-compose kill          # stop containers
$ docker-compose up -d --build # force rebuild of Dockerfiles
$ docker-compose rm            # remove stopped containers
$ docker ps                    # see list of running containers
$ docker exec -ti [NAME] bash
That last command is similar to opening SSH into a VM. You can get the name of a container from docker ps and then use the exec command to “open an interactive bash session” on the container.
Database with Docker
We added the pdo_mysql extension to our container above, so now we just need a MySQL database. Docker to the rescue! We don’t need a Dockerfile for this one, since we don’t need to modify the base image we’re going to use. Go back to the docker-compose.yml. We need to configure the database service, and then link the app container so they can communicate:
version: '2'
services:
    web:
        build:
            context: ./
            dockerfile: web.docker
        volumes:
            - ./:/var/www
        ports:
            - "8080:80"
        links:
            - app
    app:
        build:
            context: ./
            dockerfile: app.docker
        volumes:
            - ./:/var/www
        links:
            - database
        environment:
            - "DB_PORT=3306"
            - "DB_HOST=database"
    database:
        image: mysql:5.6
        environment:
            - "MYSQL_ROOT_PASSWORD=secret"
            - "MYSQL_DATABASE=dockerApp"
        ports:
            - "33061:3306"
Heres the changes:
- link the
appcontainer todatabase - add
DB_PORTandDB_HOSTenvs to the app. This will allow us to configure our local machine to connect using the.envfile so we can run artisan locally, but will not override the connection details that are used inside the container. - created the database service using the mysql base image. This image allows for environment variables to configure some defaults. In particular here, set
secretas the root password anddockerAppas a database name to create. - expose port
33061on our machine and forward it to3306on the container. Again, you can choose any port you’d like but make sure it’s unique so it doesn’t conflict with local services or other Docker containers. This is again so that we can run artisan locally.
Now in our .env file for Laravel we’ll configure the connection details.
DB_CONNECTION=mysql
DB_HOST=127.0.0.1
DB_PORT=33061
DB_DATABASE=dockerApp
DB_USERNAME=root
DB_PASSWORD=secret
Using the .env file, when we run artisan locally it will point to 127.0.0.1:33061 allowing us to connect to the database container. Inside the container, the .env library will not override any environment variables that already exist so database:3306 will be used to connect to the mysql container.
It may sound confusing, but the key point here is our database container is listening on port 3306 inside the containers, and port 33061 on our local machine (outside the containers), so we have to configure the two connections this way in order for it to work everywhere.
Stop and start the containers to add our new database service:
docker-compose kill
docker-compose up -d
You can make sure the mysql container is running with
docker psto see a list of running containers.
Now, you should be able to run migrations (which Laravel ships with by default) to setup the database.
php artisan migrateNote: if the container looks like its running and this command fails, it might just be because mysql hasn’t finished setting up yet. Give it a few seconds and try again. You check the logs for the container by running $ docker logs [NAME]
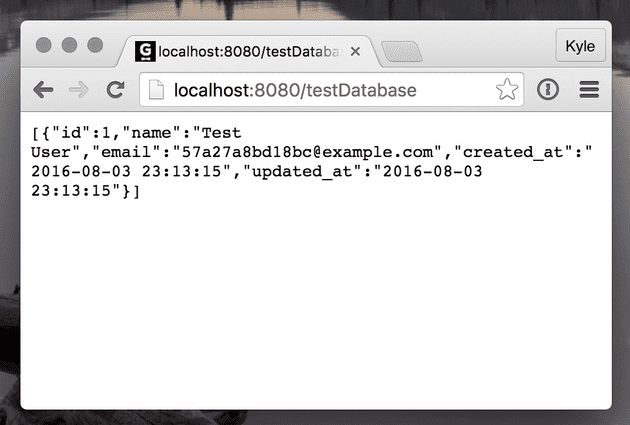
To make sure it’s working inside the container, we can add a quick test route using some defaults Laravel has setup:
app/Http/routes.php
Route::get('/testDatabase', function() {
    App\User::create([
        'email' => uniqid() . '@example.com',
        'name' => 'Test User',
        'password' => 'secret'
    ]);

    return response()->json(App\User::all());
});
Every time we hit this endpoint we should see a new user get added.
All the things with Docker
At this point, most of the things you need should be running. But just to show one more example, let’s add Redis as the cache provider. Like we’ve seen before, we just need to spin up a new Redis container and hook it up.
Don’t forget to install the predis/predis package for Laravel :)
composer require predis/predis:~1.0Add the service to docker-compose.yml
version: '2'
services:
    web:
        build:
            context: ./
            dockerfile: web.docker
        volumes:
            - ./:/var/www
        ports:
            - "8080:80"
        links:
            - app
    app:
        build:
            context: ./
            dockerfile: app.docker
        volumes:
            - ./:/var/www
        links:
            - database
            - cache
        environment:
            - "DB_PORT=3306"
            - "DB_HOST=database"
            - "REDIS_PORT=6379"
            - "REDIS_HOST=cache"
    database:
        image: mysql:5.6
        environment:
            - "MYSQL_ROOT_PASSWORD=secret"
            - "MYSQL_DATABASE=dockerApp"
        ports:
            - "33061:3306"
    cache:
        image: redis:3.0
        ports:
            - "63791:6379"
Only changes we made were
- add
cacheservice (notice the similar port forwarding as our database service) - add a link to the
cachefrom theappservice - set the redis host and port for the
appservice as environment variables
Since our app container has the connection information stored in its environment, we can point our .env file config at the container from the perspective of our local machine.
.env
CACHE_DRIVER=redis
REDIS_HOST=127.0.0.1
REDIS_PORT=63791
Restart our services:
docker-compose kill
docker-compose up -d
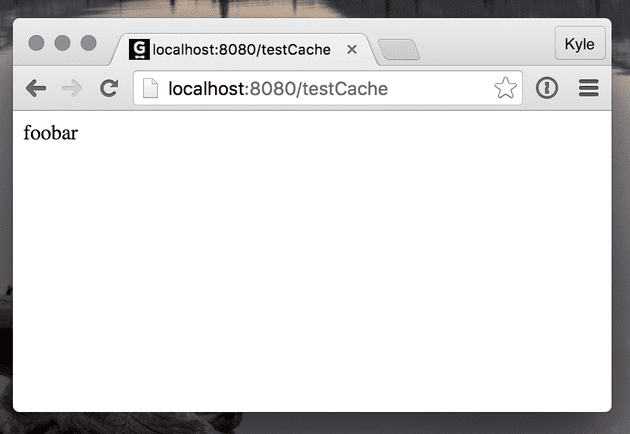
A quick route to test:
Route::get('/testCache', function() {
    Cache::put('someKey', 'foobar', 10);

    return Cache::get('someKey');
});
We can use artisan tinker to make sure it’s setup correctly on our local machine:
php artisan tinker
>>> Cache::getDefaultDriver();
=> "redis"
>>> Cache::get('someKey');
=> "foobar"
Conclusion
Just for fun, you can destroy (not stop, destroy) the entire environment and spin it back up all in a matter of seconds :) This is due to how Docker uses layers to provide mas rapido happiness. (I think that’s the official feature name).
Play around with it, change PHP versions, configurations, or most importantly: build an awesome app! Now you have a flexible but consistent development environment that can be used amongst you and your team.
